|
Boat
Storage Racks
How To Bolt and Anchor Down
To Concrete, Wood, Grass and Soft Soil

| NOTE:
These Storage Racks Are Not Required to be Bolted Down - This is
Optional |
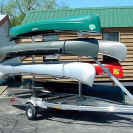
| This page highlights the many different ways to anchor down your
boat storage racks for canoes, kayaks, boats, and sailboats to a variety
of different surfaces. Storage Racks can be bolted down to wood,
concrete floors, and adapted by means of concrete pads for soft soil,
including grassy areas. |
 |
|
 |
|
 |
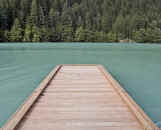
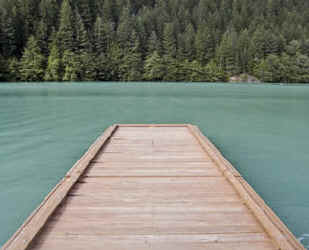
| Wood Dock |
|
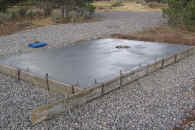
Concrete Pad |
|
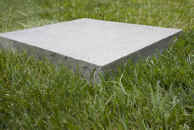
Grass or Soft soil |
 |
|
 |
|
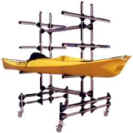
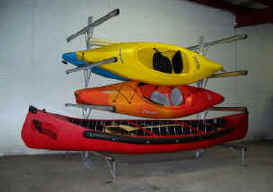
Kayak Rack Bolted to a Concrete Floor
|
|
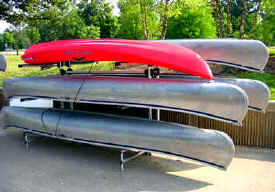
Canoe Rack Bolted to a Concrete Pad |
 |
|
 |
|
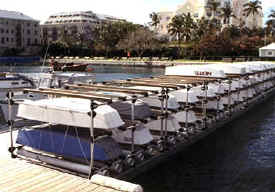
Sailboat Racks Anchored to a Wood Dock
|
|
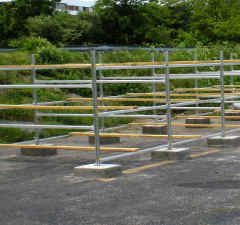
Sailboat Racks Anchored in Grass Area |
 |
|
 |
|
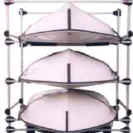
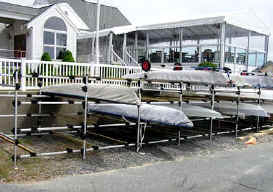
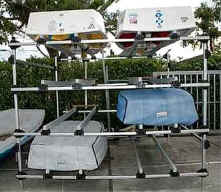
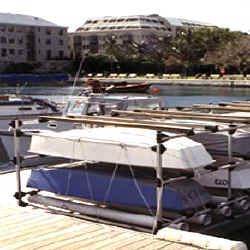
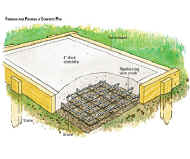
Box Racks on Raised Concrete Pads or Pillars
|
|
Box Racks Bolted to Flat Concrete |
|
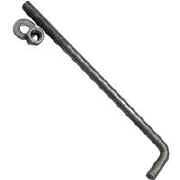
Temporary Installation with Auger Anchor |
 |
|
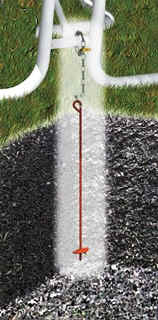 |
| Typical Auger Anchor Set |
|
Screw anchor into the ground
|
|
Permanent Anchoring Systems |
|
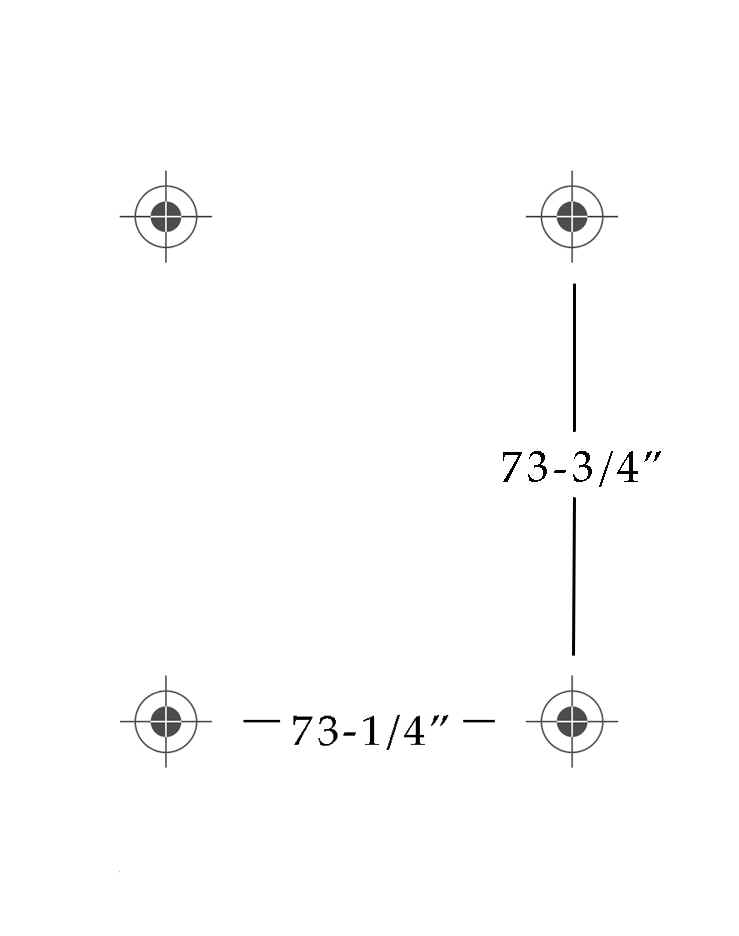
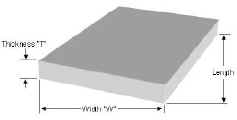
Measure and Layout the Storage
Rack |
 |
|
Typical Layout Dimensions - Either measure your
rack or obtain from manufacturer |
|
Use L Brackets to Bolt Down the Racks |
|
On all installations Use L Brackets to secure racks to floors, docks or concrete
pads. You may order these with your racks, or obtain from local hardware
suppliers |
 |
|
 |
| AB-4 Style Bracket Attachment |
|
Typical L Type Bracket |
|
On
Wood Surfaces - Such as a Dock |
 |
|
 |
|
Racks Can be bolted to Wooden Docks by using L
Brackets and Lag Screws |
|
|
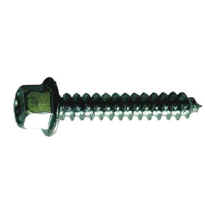 |
| Use An L-Bracket |
|
Use a Lag Screw to Bolt Down into Wood |
|
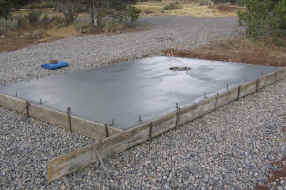
On a Concrete Surface or Pad |
 |
|
 |
|
A Full Size Concrete Pad can be poured to allow racks
to be bolted down by using
L Brackets and Concrete Fasteners |
 |
|
 |
|
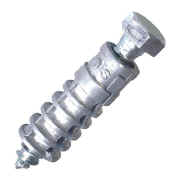 |
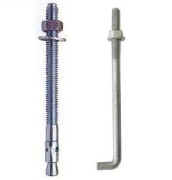
| Anchor for Wet Insertion |
|
Cinch Style- Drill a Hole |
|
Lag & Shield - Drill a Hole |
|
Installation Tips |
- Locate concrete pads for each bolt down point.
- Be sure
that all foot pads are equally level.
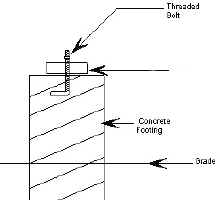
- Choose your anchor bolts.
-
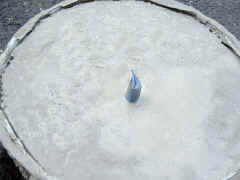
Concrete L Bolts are inserted into the wet concrete and require exact
measurements
- NOTE: It is much easier to install the "Cinch"
or "Lag & Shield" type anchors by drilling after the
concrete dries as these type of anchors do not require precise
measurements for the bolt locations.
|
|
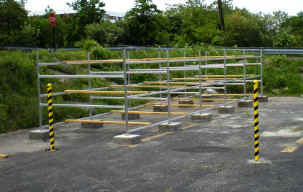
On Soft Soil Or Grass with
Raised Pads |
 |
|
 |
|
Multiple Concrete Pads or Footers can be poured
to allow racks to be bolted down |
|
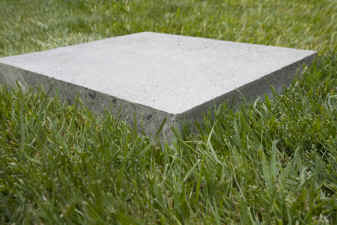
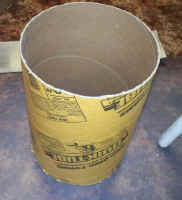
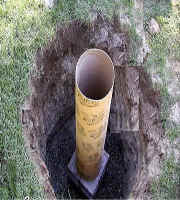
Use a Round or Square
Concrete Form |
 |
|
 |
|
Round cardboard Sonotube Type Forms are available
pre-made or you can construct your own forms from wood |
|
Using Round Pre-Made Concrete Forms |
 |
|
 |
|
 |
| Typical Installation |
|
Cut Form to Size |
|
Dig Hole and Set Form |
 |
|
 |
|
 |
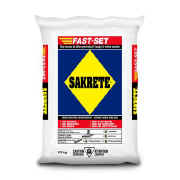
| Mix Concrete |
|
Choose Anchor Bolt |
|
Fill Form with concrete |
|
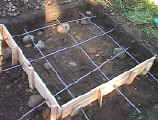
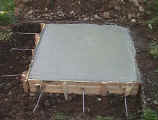
Construct Your own forms from wood |
 |
|
 |
|
 |
| Typical Layout |
|
Build Form to Size |
|
Fill with Concrete |
|